WordPress multisite allows us to set up a website with the same theme file with different domains or folder structure. For instance:
- subfolder: yugenelee.com/sg and yugenelee.com/my
- subdomain: sg.yugenelee.com and my.yugenelee.com
For more info, you may read up how to setup WordPress multisite here.
Issues?
If you’re reading this article, you may have encountered issue in setting up WordPress multisite on Bitnami AWS. You may have missed the step to configure the .htaccess which I will cover in this article.
Migration from your local server to Bitnami AWS
Migrating multisite is different from migrating a single WordPress site. The process is much more complex. There are a few methods you can employ.
The hard way:
Setup a multisite on AWS with Bitnami, then migrate the files and database over one site at a time. This way is more difficult and time-consuming as you may need to replace lots of links manually. I will not recommend going in this way.
The easier way:
Use Duplicator Pro, it costs $59 and I promise you, it will save you lots of time and effort. You won’t have to edit those links manually.
I have tried using BackupBuddy, the process is a bit more complicated as they only offer the feature as a beta.
You can also consider using All In One Migration Multisite Extension, but the price is $199, a bit more expensive than Duplicator Pro.
I think Duplicator Pro is the best option out there to do it properly.
Using Duplicator Pro
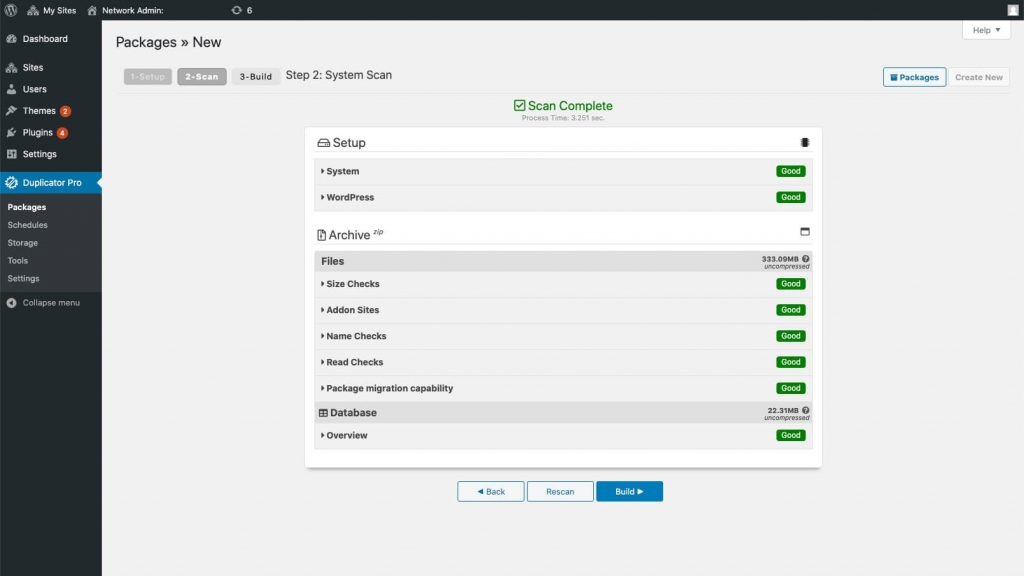
After you have installed Duplicator Pro, just go to the main interface to start the process. Once you have the backup completed, download the installer.php and zip file.
Then, upload this to files to the root folder of your new Bitnami server and run the installation.
You should be able to run this: yourdomain.com/installer.php.


If not, edit the configurations to exclude certain items during the backup.
Editing Bitnami htaccess
After you finished the installation, don’t jump right into your new website. It is not working yet as Bitnami handles .htaccess configuration in a more secured way.
For this reason, they have moved the configuration in the .htaccess files to the main application configuration files and set the AllowOverride option to None by default. For more info, read Understand Default .Htaccess File Configuration.
So all your subdomain or subfolder structure does not work right away.
What you need to do now is to move your WordPress .htaccess to your Bitnami htaccess.conf file. The content of the .htaccess files has been moved to the
/opt/bitnami/apps/APPNAME/conf/htaccess.conf file.

Here’s the configuration file you may use:
<Directory "/opt/bitnami/apps/wordpress/htdocs/">
# This file was updated by Duplicator Pro on 2020-05-14 05:39:58.

# BEGIN WordPress (3.5+ Multisite Subdirectory)
RewriteEngine On
RewriteBase /
RewriteRule ^index\\.php$ - [L]

# add a trailing slash to /wp-admin
RewriteRule ^([_0-9a-zA-Z-]+/)?wp-admin$ $1wp-admin/ [R=301,L]

RewriteCond %{REQUEST_FILENAME} -f [OR]
RewriteCond %{REQUEST_FILENAME} -d
RewriteRule ^ - [L]
RewriteRule ^([_0-9a-zA-Z-]+/)?(wp-(content|admin|includes).*) $2 [L]
RewriteRule ^([_0-9a-zA-Z-]+/)?(.*\\.php)$ $2 [L]
RewriteRule . index.php [L]
# END WordPress
</Directory>
Always restart your apache
The final step to this process is to restart your apache server.
You may use below code to do so:
sudo /opt/bitnami/ctlscript.sh restart
After this, you should have your WordPress multisite working.
We are a WordPress development agency, if you are looking to build a WordPress website or any WordPress related issues, you may contact us.
